Risograph
p5.riso library by Sam Lavigne and Tega Brain is very useful for preparing sketches for risograph printing.
The library is a wrapper around p5.Graphics. The scaling method I described in Export subject using a buffer is very similar to how p5.riso library separates color layers. So, if you want to combine both the scaling method and the p5.riso library, it's entirely possible.
Color layers
All the drawings for risograph happen in color layers. First, you have to decide which colors you will use depending on what you have at your disposal or at your print shop. Following colors are part of the library:
black burgundy blue green mediumblue brightred risofederalblue purple teal flatgold huntergreen red brown yellow marinered orange fluorescentpink lightgray crimson fluorescentorange cornflower skyblue seablue lake indigo midnight mist granite charcoal smokyteal steel slate turquoise emerald grass forest spruce moss seafoam kellygreen lightteal ivy pine lagoon violet orchid plum raisin grape scarlet tomato cranberry maroon raspberryred brick lightlime sunflower melon apricot paprika pumpkin brightolivegreen brightgold copper mahogany bisque bubblegum lightmauve darkmauve wine gray coral white aqua mint clearmedium fluorescentyellow fluorescentred fluorescentgreen
Once you decide on the color(s), you can create your layer(s) and start drawing on them.
// Create a layer in aqua
let aqua = new Riso("aqua");

// Draw on the layer
aqua.circle(0, 0, 100);
aqua.rect(0, 0, 100);
aqua.line(0, 0, 100, 100);
Overprinting & Knockout
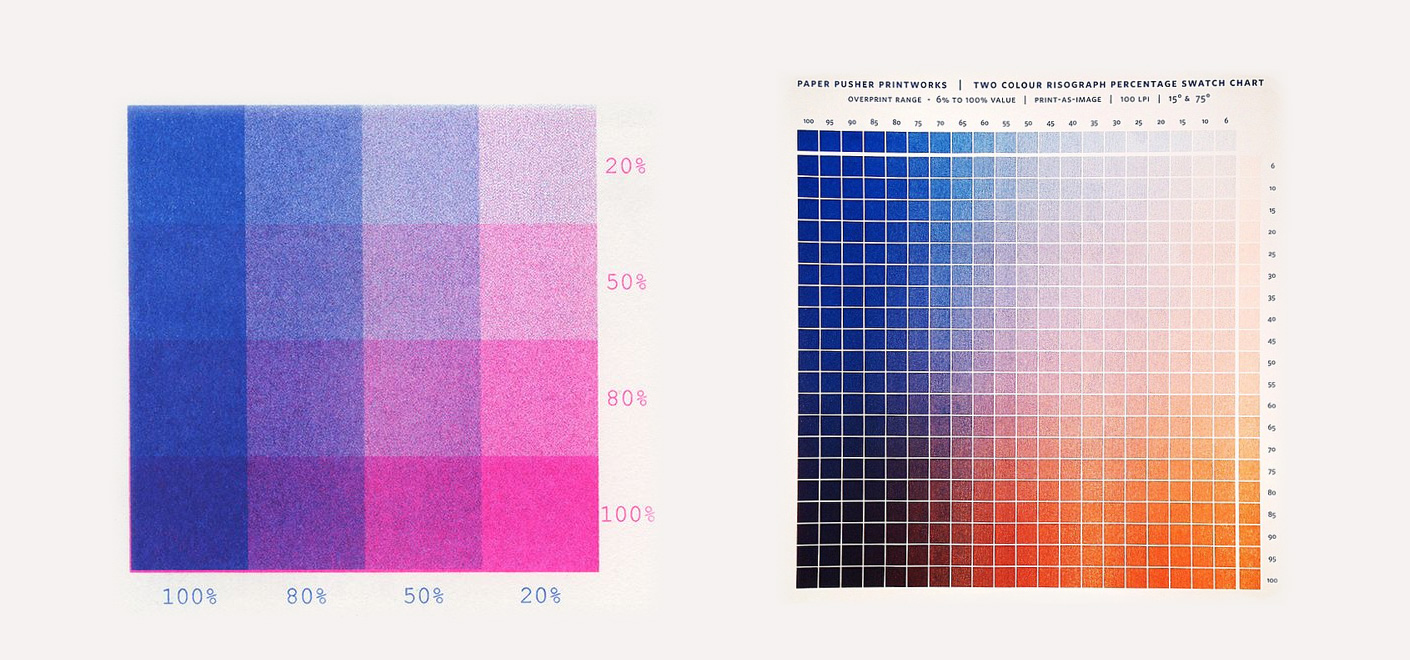
A typical aesthetics of risograph is overprinting layers of colors. This is also very useful for creating new colors that don't exist in the standard color palette.

Printed guides are useful in anticipating color combination results as they are typically different than CMYK combinations, therefore hard to imagine. The order of the layers also changes the outcome. For example, if you print yellow first and then blue on top, you get a shade of green. B ut if you do the reverse and print blue first, blue stays dominant and the shade of the green is very different.

You can knockout layers using Riso.cutout(p5.Graphic) function of p5.riso.
let mint = new Riso("mint");
let coral = new Riso("coral");

mint.circle(100, 100, 100);
coral.circle(100, 100, 50);


// Coral is cutout from mint, so they don't overprint
mint.cutout(coral);
Avoid having the same text in two layers for overprinting or knockout unless that is an artistic choice because registration is never perfect with risograph printers.
Dithering
There are four dithering algorithms included in p5.riso library.

You can simply use it with ditherImage(img, type, threshold) function.
let image;
let mint;

function preload() {
  image = loadImage('image.jpg');
}

function setup() {
  createCanvas(image.width, image.height);
  mint = new Riso('mint');
}

function draw() {
  background(255);
  clearRiso();

  let dithered = ditherImage(image, 'floydsteinberg', 128);

  // Draw dithered image
  mint.image(dithered, 0, 0);

  drawRiso();
}
Export
Exporting is very straightforward. It will separate layers, and save them to your computer.
function mousePressed() {
  exportRiso();
}
Read More
Examples above are a very simple introduction of what can be done. For more detailed information and examples, you should check p5.riso documentation.

